How To Install Bamboo Wall Panels? -5 Easy Steps for a Pro Finish
Bamboo boards for your garden or home is an innovative green option. They are adored by homeowners and DIYers alike bamboo boards are natural, durable and sustainable. Check all the boxes to create a sustainable design.
Bamboo wall panels make sprucing up areas easy. Cover ugly surfaces, design an impressive feature wall or enhance the look of a room. This article offers simple, step-by step instructions to install bamboo wall panels to help you create a professional, perfect result with no trouble.
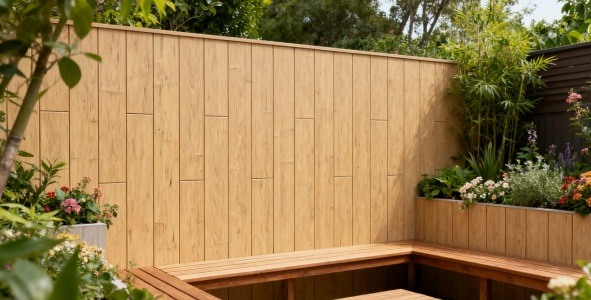
Table of Contents
Step 1. Comprehensive Preparation for Success
Tools You’ll Need
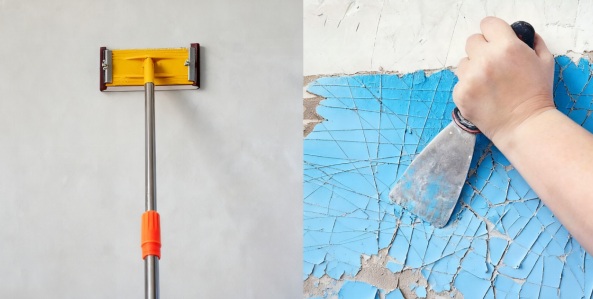
✅ Electric Drill ✅ 1/16″ Drill Bit ✅ Saw ✅ Hammer
✅ Tape measure ✅ Utility Knife ✅ Caulking Gun ✅ Magic Marker
✅ Finishing Nails ✅ Liquid Nails ✅ Paneling
Wall Treatment
For irregular rough walls, if the wall has a vertical deviation over 5cm (e.g., in unfinished houses), level it with gypsum first. Alternatively, use wooden strips as fulcrums at the maximum deviation points. Always use a level to confirm consistent top-to-bottom alignment before panel installation.
If the wall’s overall deviation is small but has hollows or bumps, use a level to identify these spots. Fill hollows with wooden blocks, cement, or plaster, and smooth down bumps to create a flat surface.
Check if the wall’s plaster/stucco is waterproof. Even though bamboo panels are water-resistant, unleveled areas under panels may mold in high-humidity environments. Additionally, fully clean off wall primer and all plaster residues—this prevents adhesive failure or panel separation later. A clean, flat, and dry wall is key for strong, long – lasting panel adhesion.
Environment Adaptation
Bamboo carbon fiber wall panels are generally made off-site, which can result in a myriad of different production conditions and the environment in which they are installed particularly in the areas of humidity and temperature.
So, when the bamboo wall panels featuring design elements arrive at the site for installation, make sure to take them off of the packaging before. After that place them for at least 24 hours prior installing. This will allow the panels to move to the proper position, thereby avoiding problems with installation.
Step 2. Precise Measurement for a Perfect Fit
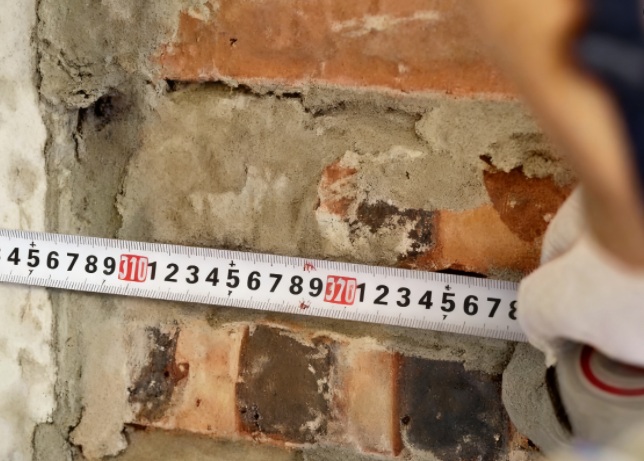
Measure the wall Area
Use measuring tape to determine the height and width of the wall where you want to cover with bamboo. Take measurements from the top to the bottom of the wall in several locations to account for any slops or unevenities. The same method applies to width. Add the height and width to calculate the amount of square footage the wall will cover.
For instance, if you have an area of eight feet tall and by 12 feet, then the total area will be 8×12 or the equivalent of 96 square feet. This calculation will allow you to determine the number of bamboo panels you’ll have to purchase. Be sure to add a little more (about 10-15%) to cover any omissions cut, scrapes or wasted materials during the installation process.
Measure the Panels
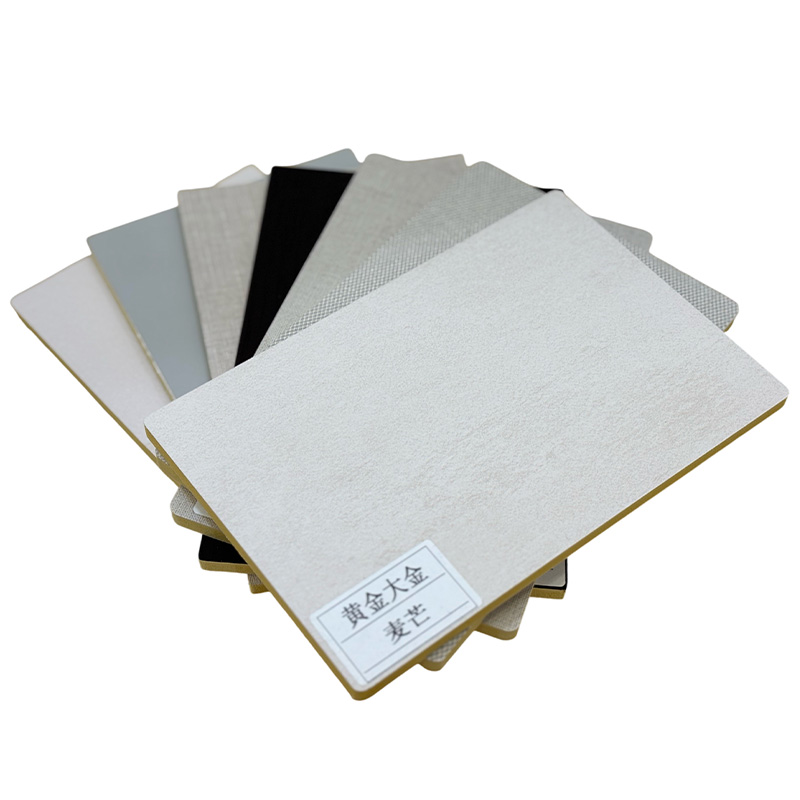
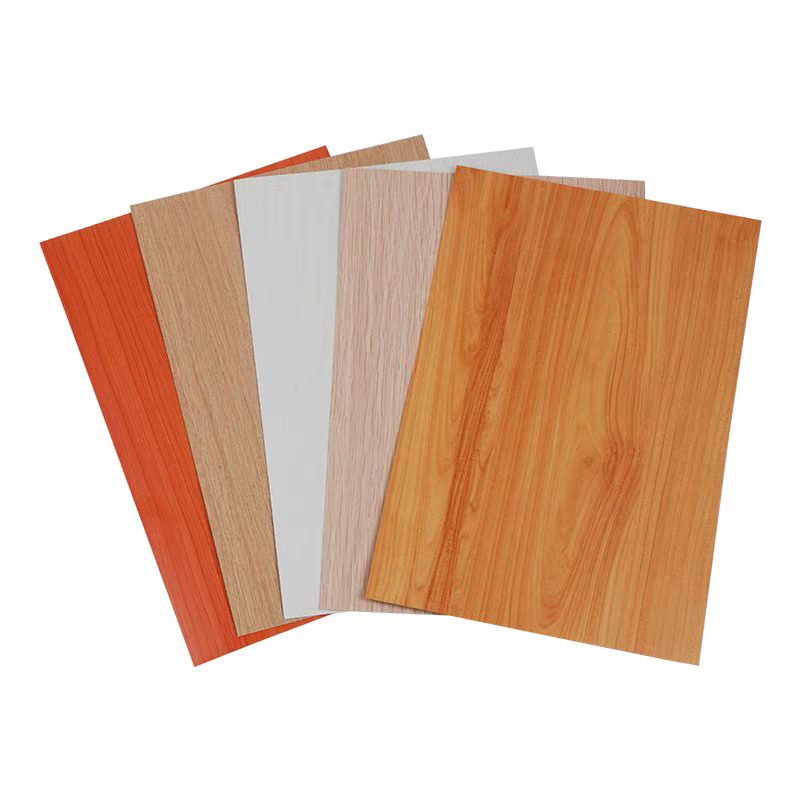
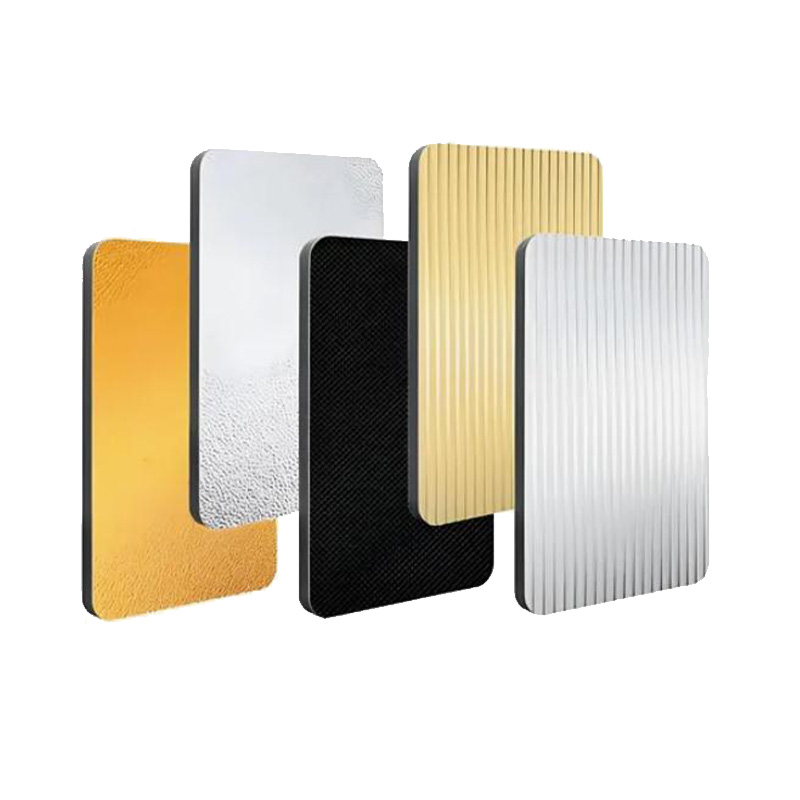
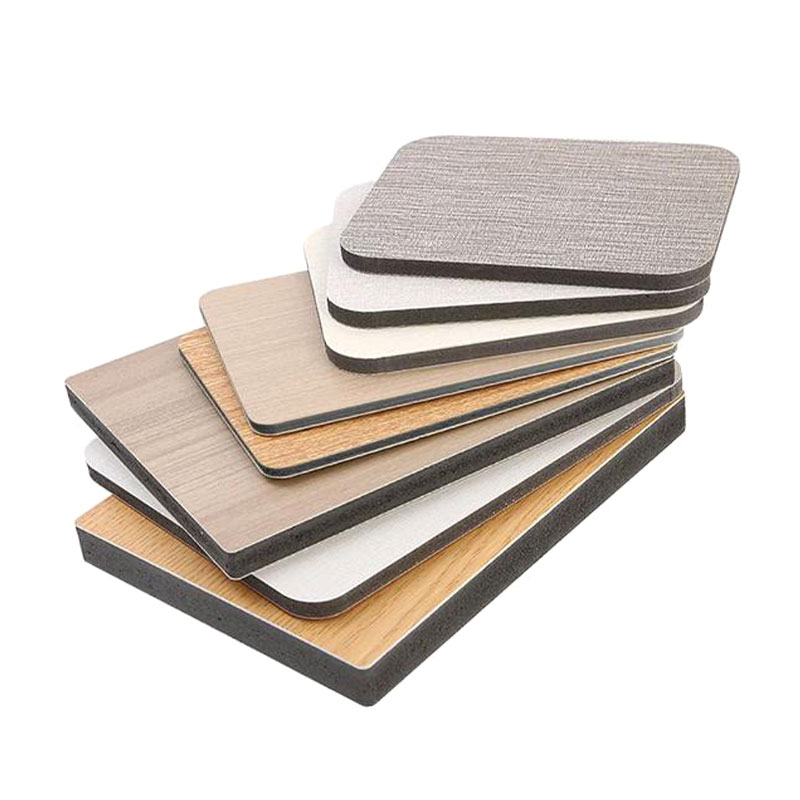
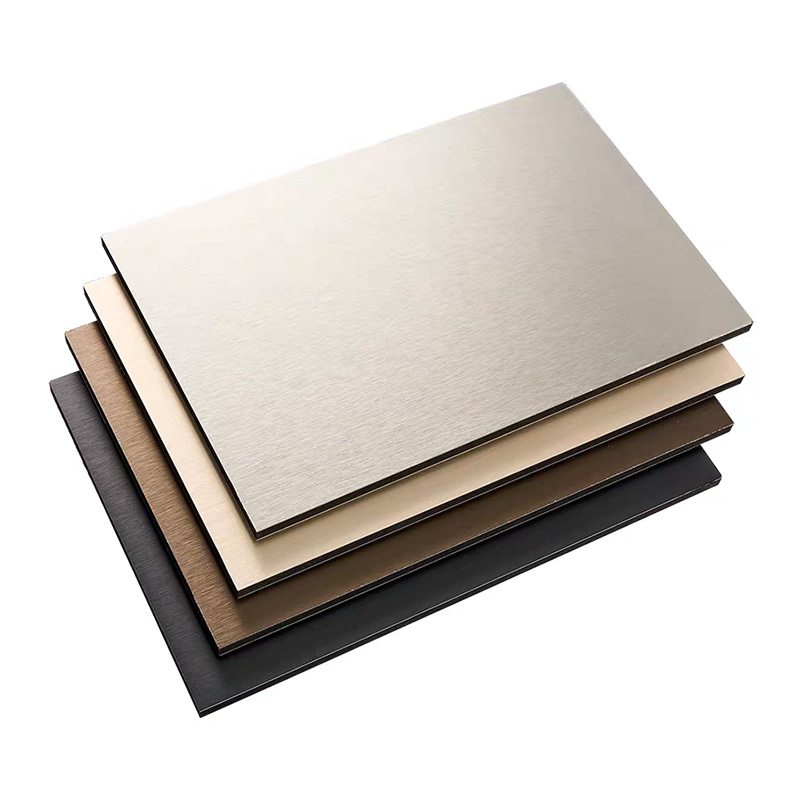
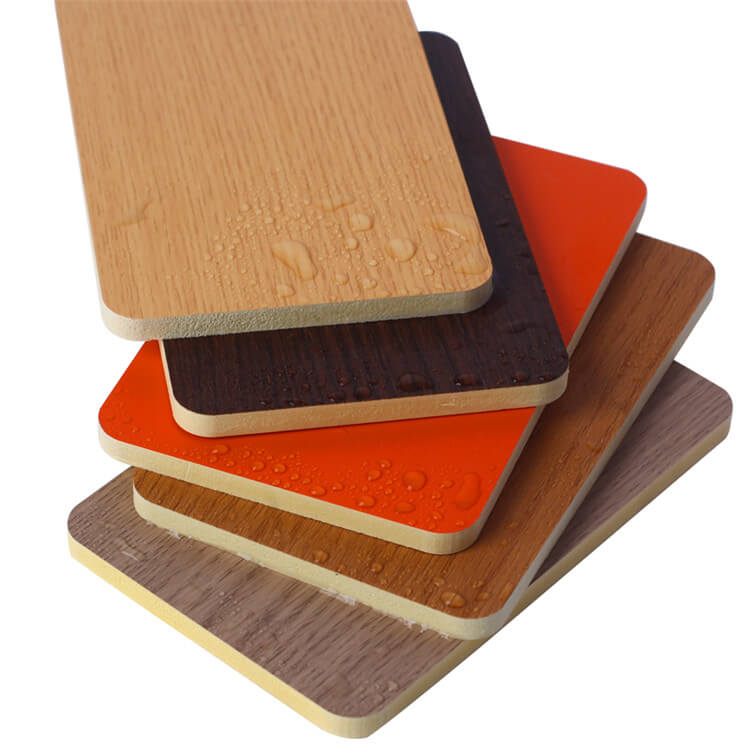
Wall panels made of bamboo generally are available in standard sizes, such as 4 inches high and 8 inches wide, and 1/8 inch in thickness. But, it is recommended to verify the dimensions of the wall panel you’ve purchased.
Set a few panel on your floor. Next, take measurement of their width, as and the width they take up when placed side-by-side, and from top-to-bottom. This will help you in determining the way that the panels will appear against the wall and the amount of rows and columns that you’ll require. Take note of how the grains are arranged and directions of the panels. It is possible to think about planning the layout to achieve a uniform appearance.
Step 3. Accurate Cutting to Match Your Space and Design
Cut to Match Wall Dimensions
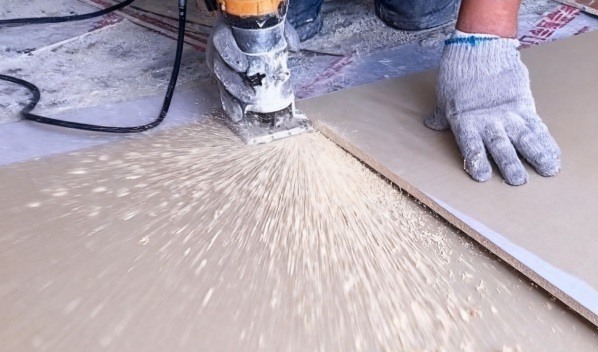
Horizontal cuts: Before making horizontal cuts, make sure that the bamboo panel is tightly rolled. This makes it easier for you to manipulate and then cut. When using handsaws ensure that you use consistent, smooth strokes. Saber saws can be utilized for cutting faster however, be cautious not to use the saw to much in order to result in the bamboo being able to split. The chop saw can be perfect to make precisely straight horizontal cuts especially when you need to cut several panels to identical lengths.
Vertical cuts: To make cutting vertically, a knife is usually the most effective tool. Set the panel onto a level surface. Then mark the area where you’d like to cut it using your utility knife. Repeat several times to further deepen the cut. Then, you can carefully take the panel and snap it to the score line. This technique is great to cut between the bamboo strips panel.
→You can click here to watch the cutting video.
Cut to Suit Design
Moving around switches, outlets or heat registers demands the utmost precision. Here’s a step-by procedure:
Then, mark the position of the vent or outlet on the wall using chalk. This provides you with a precise location to refer to.
The bamboo panel should be placed in the right place on the wall, where it will be covering the outlet. Utilize a hammer and gently tap the bamboo panel in the area where the outlet will be. The force will transfer the design of the outlet to the side part of the panel.
Make use of a saw or utility knife to cut the panels around the traced outline. You should leave a 1/4-inch space over the cutout. This allows some flexibility in the installation and adjustment. Outlet cover plates can conceal the additional space.
When cutting, make sure to use an incredibly sharp cabinetry blade to make a neat and smooth cut. A dull blade could break the bamboo, leaving the edges unappealing and ragged.
Step 4. Glue Application for Secure Bonding
Turn each cut piece upside down and then run a 4 mm Bead of panel-grade structural adhesive along the length and keep 30 millimeters clear of each edge in order to prevent the squeeze-out. Four 20-millimeter dots on the surface for additional suction on walls that are uneven. Only work with one board at one moment: open the board upwards, align it, and press it firmly for 30 seconds until the glue keys are inserted into the bamboo fibers as well as the wall substrate. There are no clamps required and the skin of the adhesive is formed in just 5 minutes and then cures to 120 kg/m2 shear strength within 24 hours providing a smooth adhesive that is nail-free and lasts season after season.
Step 5. Installation, Splicing, and Reinforcement
Install the Panels
When you have applied the glue allow it to sit for between 10 and 15 minutes. This will allow the adhesive to set and become tacky which aids in better adhesion.
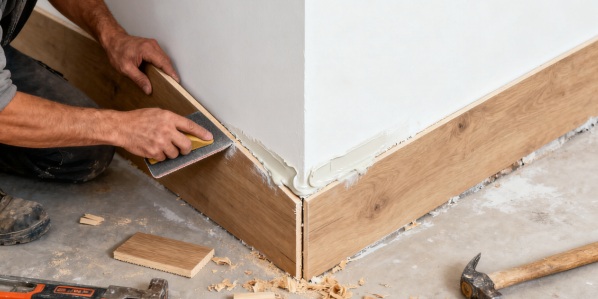
Take the bamboo panel carefully and then place it on it in its preferred position. The panel should be firmly pressed against the wall using equal pressure across all of the surface. Begin from one corner, and move across and down the panel, making sure that there aren’t spacers, air pockets or gap between the wall and the panel.
→ You can click here to watch the installation video.
Splicing Methods
It is a Butt Joint works well for contemporary, clean looks. Simply place the edge of one panel right against the other ensuring that both edges are level and match the wall markings. To ensure more accuracy take a level across the joint to ensure the seam is straight. This will prevent uneven seams from forming a glaring obstruct.
This Overlap Joint is great for walls with slight irregularities or those that require additional stability. Overlap one piece of wood onto the next one by 1/4-1/2 inch. Cut off any excess Then press the overlapped part with a firm pressure to secure the adhesive. It covers small gaps and improves the longevity.
Miter Joint is perfect for corners or decorative edges. Make use of a mitersaw to cut the edges of two panels in 45 degree angles. Join the edges of the angled edges to form a neat and seamless corner. The joint can be sanded lightly if you notice rough spots. Then press hard to seal it using adhesive.
Reinforce the Panels
After the panel has been pressed on the wall apply 1 -inch panel nails in the pre made holes to strengthen the panel. The nails should be hammered gently but firm until they are completely flush with the wall that the panels are. Monitor them regularly as the adhesive sets (it is set immediately, but fully cures within the course of 24 hours) to ensure the panel is in complete touch with wall.
Be aware that you’ll require around 1-tube of Liquid Nails per 4×8 sheet However, this may differ based on the surface structure of the wall and the care you take when applying the adhesive.
Last words
Following these steps cautiously follow these steps carefully and you can install bamboo wall panels to your home with ease. The end result will be a stunning natural looking, natural-looking wall that brings the character and warmth of any space. If you have any issues in the process of installation you are welcome to speak with Chongqing Huigong for assistance.