How To Install PVC Skirting Boards? – Say Goodbye To Seams And Falling Off
Did your skirting board start to curl up just a few months after installation? Are the joints crooked and look ugly? Is there always dust stuck in the gap between the skirting board and the wall every time you mop the floor? Don’t worry, these problems can actually be solved! Today, I will use the most straightforward steps to teach you how to install a PVC skirting board that fits perfectly and won’t debond for ten years. You don’t need to hire a worker, you can do it yourself!
Table of Contents
Why Are Your Skirting Boards Installed Badly?
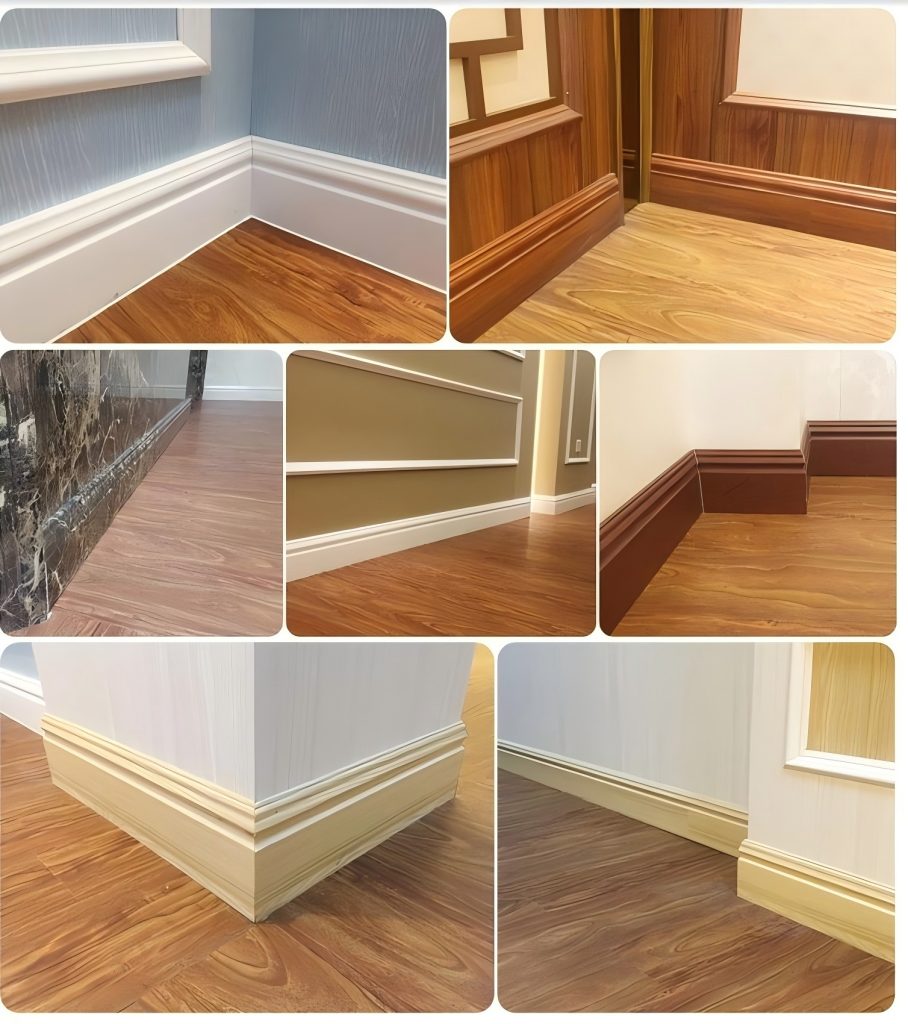
Ugly seams are obvious
After installing the skirting boards with great difficulty, the seams are crooked and the yin and yang corners are uneven. Every time I pass by, I frown and my obsessive-compulsive disorder explodes! A good decoration is ruined by these ugly seams.
Easy to fall off
It looks quite solid when just installed, but the skirting board begins to warp and loosen within half a year. Trying to nail it seems to risk damaging the wall, and it is not strong enough to simply glue it. What do I do?
Cut crookedly
Manually cutting at a 45° angle is simply a “disaster scene”! The cut corners are not aligned at all, a lot of materials are wasted, and the final installation effect is still very poor, which makes people feel distressed and helpless.
The wall is uneven.
After the skirting board is pasted, the gap is large enough to hide a lot of dust. It is very troublesome to clean and it looks particularly unsightly.
Must-read Before Installation! Key Preparations That Are Easy To Overlook
1. Wall inspection – uneven? 3 quick fixes
Small potholes: fill with plaster powder, and sand it flat after it dries
Large gaps: scrape a layer of putty locally, and wait until it is completely dry before installing
Severe unevenness: apply a thin layer of foam tape to make the skirting board fit better
2. Choose the right glue, don’t use acid glue!
Neutral glass glue (such as Dow Corning, Wacker) is recommended, which will not corrode PVC
Don’t use 502 glue or all-purpose glue, it won’t stick and will easily turn yellow
3. Don’t make do with tools, this “artifact” cuts straighter
Does the hand saw easily cut crooked? Change to a “PVC special cutting knife” to make the cut flat and even
Don’t have an electric drill? At least prepare a few “self-tapping screws” to reinforce key positions
Comparison of 3 Installation Methods
| Method | Who is it suitable for? | Advantages | Disadvantages |
| Adhesive method | The wall is relatively flat and you don’t want to damage it by drilling holes in it. | The advantages are that it is firmly glued and the overall appearance is more beautiful after installation. | The disadvantage is that it will be difficult to disassemble later. |
| Snap method | When renting a house or need easy disassembly. | Fast installation speed and easy disassembly | But there may be gaps, affecting the appearance. |
| Screw fixation | When the wall is uneven and you want long-term stable use. | Most solid | The screw holes will affect the appearance of the skirting board. |
Recommendation: For ordinary households, choose glue + reinforcement with screws at key locations, which is both sturdy and beautiful!
Step-by-step Installation Tutorial (Focus On Solving Joints And Falling Off)
1. Cutting skills
Traditional method: cut at a 45° angle, which is easy for novices to cut crooked
Easier method: directly buy “yin-yang corner joints”, and the skirting board can be installed after cutting it flat, and it fits perfectly!
2. Glue application method
❌ Wrong application method: randomly apply a few glue dots, which is easy to fall off
✅ Correct application method: apply glue into “wavy lines”, and the contact surface is larger after pressing, and the adhesion is more stable!
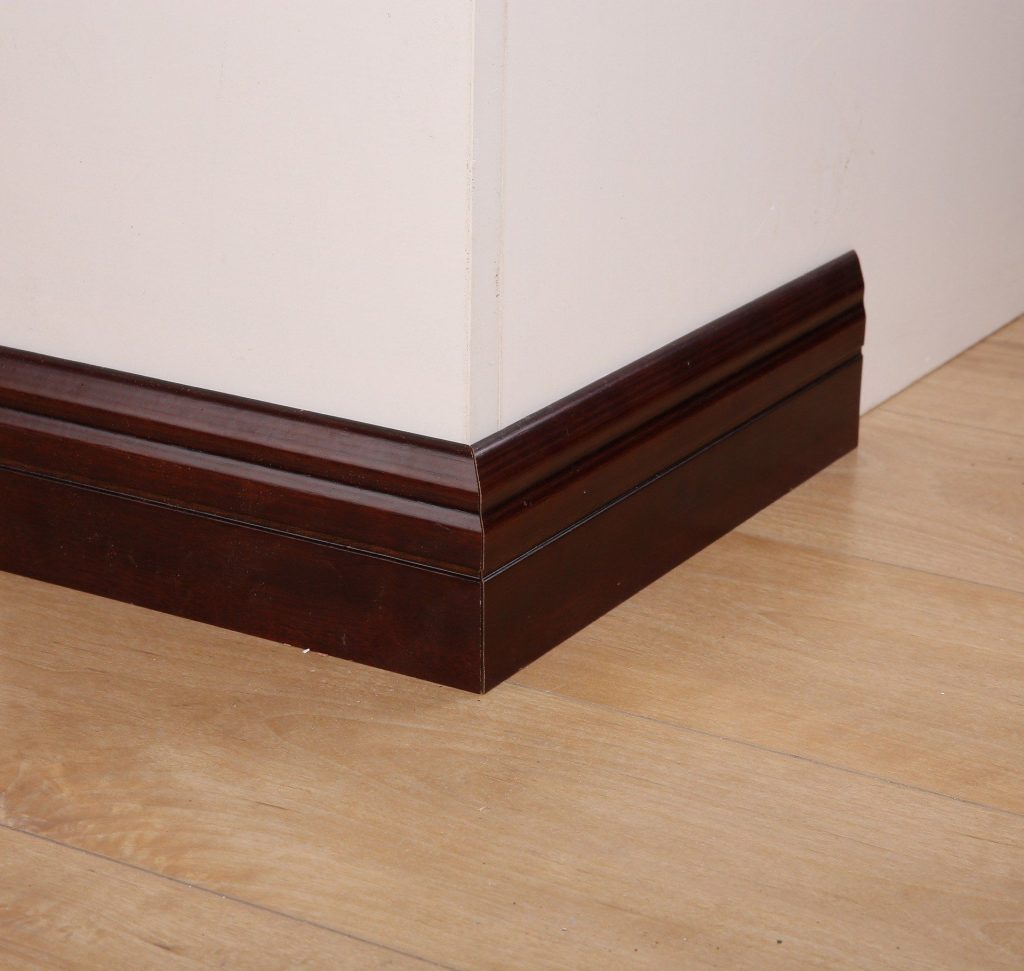
3. Joint treatment
Grind the cuts at both ends to make them smooth
Squeeze a little glue at the joints and wipe off the excess with a wet cloth immediately
After installation, press with a heavy object for 10 minutes to ensure that it is firmly glued
4. Reinforce key positions
Corners and sockets: add a self-tapping screw to fix
Long walls: apply a little glue every 1 meter to prevent deformation due to thermal expansion and contraction
Must Be Done After Installation! 3 Steps Of Acceptance To Avoid Later Problems
Press test
After installation, press each part of the skirting board gently with your hand. If you hear a hollow sound, it means that the glue is not firmly glued at this place. You must fill the glue quickly, otherwise it will definitely fall off after a long time.
Gap inspection
Carefully check the gaps between the skirting board and the wall, and between the skirting boards, and fill them with white anti-mildew glue. This glue is waterproof and mildew-proof. It will not turn black after 10 years of use. It can make the gap disappear and is easy to clean.
Thermal expansion and contraction
If it is installed in summer, remember to leave a 1mm gap between the skirting board and the wall. Because in winter, the material will shrink when it is cold. If there is no gap, the skirting board will easily bulge and deform.
First Aid Plan For Common Problems
Q1: Can it be removed if it is installed crookedly?
✅ Yes! If glued, slowly peel off the skirting board after using heat on the glue with a hair dryer; if installed with clips, remove the clip; removement with screws entails unscrewing them and skirting board removal. As long as the operation is proper, the wall won’t be affected.
Q2: What should I do if the glue overflows?
✅ When the glue just overflows, wipe it with an alcohol cotton pad. It can be cleaned easily with a single wipe. It will be difficult to clean after the glue dries.
Q3: How to remove the old skirting board?
✅ Use a hot air gun to soften stubborn glue stains while gently lifting it with a spatula after cutting with a utility knife.
Summary
Remember, good results come from patience and meticulous construction. Focusing on doing each step properly saves future repair work. Learn these skills, and installation won’t be a headache anymore! Go try it now, you too can install professional-grade skirting board effects!