How To Securely Glue 3D Print Wall Panels?
Have you ever experienced this moment of despair? You carefully select 3D decorative wall panels, apply them with high hopes, only to have them snap off overnight, leaving unsightly glue marks and damaged walls. Or perhaps you manage to get them glued down, only to discover uneven joints and stubbornly warped edges, driving your obsessive-compulsive disorder crazy. Not to mention, when it comes time to remove them, inferior glue clings to the wall like a dog-skin plaster, tearing off large swathes of paint and instantly doubling the renovation costs… Don’t be quick to blame your own clumsiness; 90% of problems stem from overlooked details. Today, we’ll address these pain points and put an end to installation failures with our professional expertise!
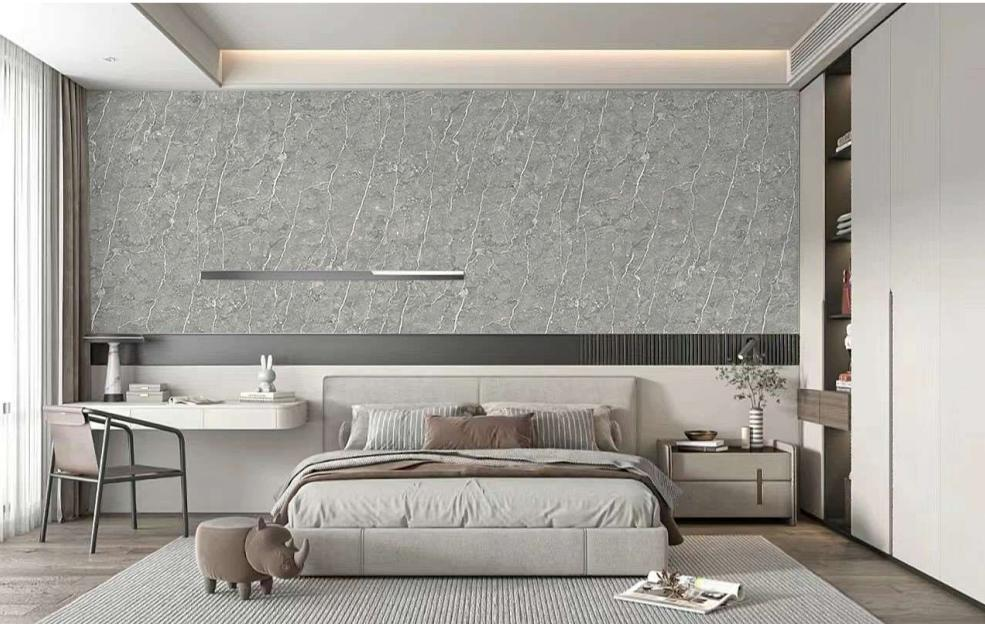
Table of Contents
Why Do Your 3D Print Wall Panels Keep Falling Off?
They keep falling off after I stick them on. Whose fault is it? — The fatal blind spot between glue and load-bearing properties
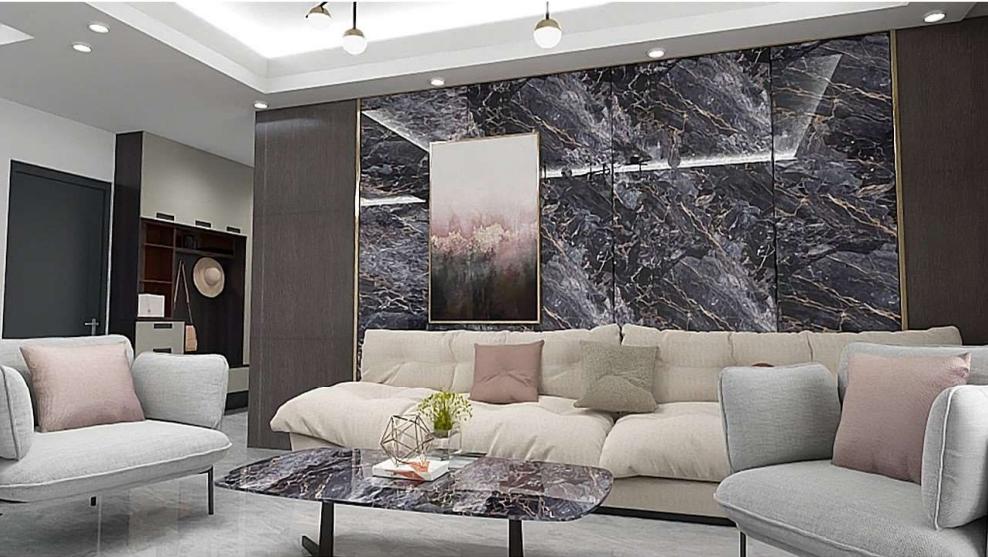
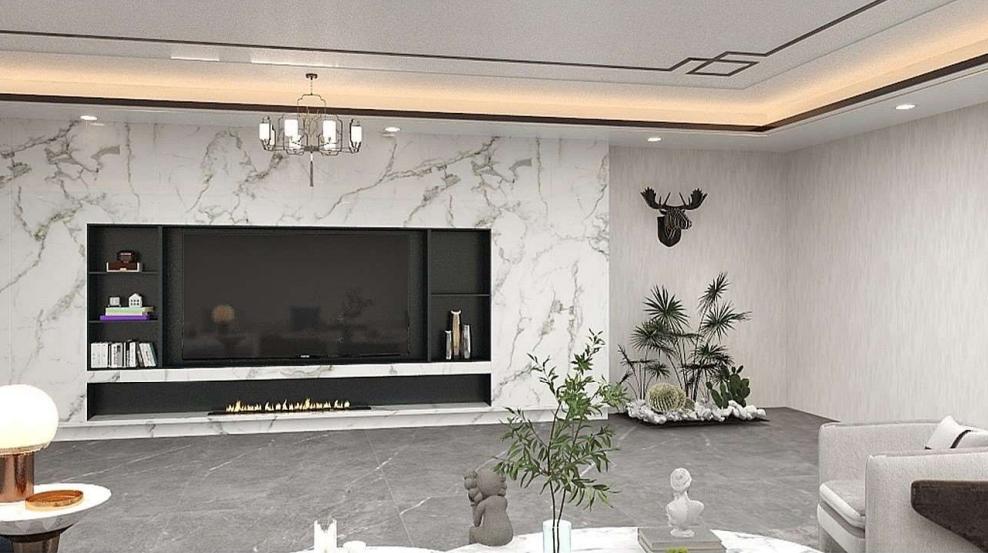
- “Universal glue” isn’t a panacea: Many people fall for advertising claims of “nail-free glue” and “strong double-sided tape,” only to discover they’re completely ineffective against large, heavy 3D panels. The core problem lies in ignoring the actual weight of the panels and the wall’s grip. Lightweight EPS foam boards might work, but what about more common PU, gypsum, and solid wood composite panels? The surface grip of cement walls, ceramic tiles, puttyed gypsum boards, or latex-painted walls varies greatly.
- The consequence: After a brief period of “false firmness,” the panel slowly shifts downward under gravity or falls off entirely, especially after temperature fluctuations.
“Crooked, it drives my OCD crazy!” — The devilish details of wall and installation
- The wall is the “foundation”: Attaching panels directly to a dusty, damp, and noticeably uneven wall? That’s like building a high-rise on the beach! Dust separates the adhesive, moisture destroys the adhesive, and uneven surfaces prevent the panels from fitting perfectly.
- Relying on eye contact for splicing? Without precise positioning tools and methods, relying solely on eye alignment will inevitably result in inconsistent gaps, uneven edges, and a cheap-looking overall effect.
- The consequence: A visual disaster! Even the most exquisite panels will look cheap and crude if they’re not installed evenly, and dust in the gaps will be difficult to clean.
“Glue marks will ruin the wall!” — Low-quality glue and the hidden bomb of demolition
The consequence: When changing styles or moving out, facing a disastrous wall and the costly repair costs can be a source of endless regret.
The aftermath of low-quality glue: Cheap, off-brand glue may initially hold strong, but over time it can age, yellow, and chalk, even leaking oil stains, staining the panels and walls. Even more frightening is that during demolition, it can either crack and leave marks or stubbornly cling. Forcible removal inevitably results in extensive damage to the wall coating (latex paint, wallpaper) and even the base layer (putty, drywall).
Professional Solutions
1. Glue Selection: Scientifically match and say goodbye to blind gluing
Solid Foundation: Concrete Walls / Tile Walls
Epoxy Glue (such as Pattex Power Epoxy): Top recommendation! This two-component adhesive offers exceptional strength after curing, comparable to welding, and is highly resistant to aging, moisture, and temperature fluctuations. It’s particularly suitable for heavy panels (solid wood, thick plaster) and applications requiring permanent fixation. Mix precisely according to the instructions and cure for a long time (typically over 24 hours to reach full strength).
High-Performance Foam Adhesive (like Soudal Genius Gun): The Soudal Genius Gun expands and fills gaps sharply, filling small irregularities in walls which require an excellent grip while also having a cushioning effect. Select an adhesive-based adhesive with low expansion to avoid excessive expansion which can cause panel deformation. It is effective for filling gaps and is suitable for medium-weight panels. Be careful with the amount to avoid over application, and any excess should be trimmed after the adhesive dries.
Fragile Walls: Plasterboard/Latex Painted Walls
High-Quality Silicone Structural Adhesive (like Dow Corning 795, GE Silicone II series): These chemically curing silicones have outstanding weather resistance, and remain clear and flexible which is important for sections exposed to severe weather. High flexibility, strong adhesion, and excellent weather resistance also protects the bond against the elements, while still allowing some movement. Choose a neutral-curing type to avoid corrosion on the wall and panels. This is the primary choice for these wall types.
Supplementary Anchorage: For larger or heavier panels (e.g., those exceeding 60x60cm or with noticeable weight), it is strongly recommended to use concealed fasteners at the top of the panel or at key stress points:
L-shaped Metal Angle Brackets: Screwed to the wall studs (keel), the panel side is secured with strong glue or small screws (need to be concealed) to provide reliable mechanical support.
Heavy-duty Velcro (Hook and Loop): Choose a high-load-bearing type (such as 3M™ Dual Lock™) and adhere to the wall and the back of the panel to provide strong vertical tension and be removable. Lightning warning: Stay away from so-called “super glue,” “instant glue (502 type),” and “ordinary glass glue”! They are either insufficient in strength and durability, or corrode the substrate and are difficult to clean.
2. Wall Pretreatment: 90% of your success depends on this!
Deep Cleaning: Thoroughly wipe the adhesive surface with 75% concentration medical alcohol or a dedicated wall degreasing and descaling agent (such as Mellerud). Kitchens and balconies should be especially clean of oil and dust; this is the first step to ensuring adhesion!
Precise Leveling:
Small Depressions/Protrusions: Carefully fill depressions with a gypsum- or cement-based patching putty (such as Henkel Black & Decker). Sand the protrusions until smooth.
Large Uneven Areas: Consider using self-leveling cement to level the surface, either partially or completely, to achieve floor-level precision. This is the foundation for achieving the ultimate smooth finish.
Moisture-Proofing and Reinforcement (Critical! Especially in southern areas and for kitchens, bathrooms, and balconies):
Apply one to two coats of a water-based wall reinforcement base membrane** (such as Carpoly or Meichao). It penetrates the wall, strengthens the loose surface layer, increases the hardness of the putty layer, significantly enhances adhesion, and provides a certain degree of moisture and mildew resistance. Low cost, high results!
Dry! Dry! DRY! : Make sure the surface is completely dry after cleaning, repairing, or painting (usually at least 24 hours, depending on the humidity). Moisture is the enemy of adhesives!
3. Practical Installation Tips: Details Determine Success
Precise Positioning Tools:
Laser Level: Projects precise horizontal and vertical lines on the wall, the ultimate tool for ensuring panels are level and seamlessly joined. Far more accurate, intuitive, and efficient than traditional plumb lines.
Auxiliary Tools: A square and tape measure are still essential.
Reinforcement Solution for Heavy Panels:
The “Glue + Bracket” Combination: Apply a generous amount of your chosen structural adhesive or epoxy adhesive to the back of the panel in a dot-and-frame or strip pattern (ensuring adequate coverage). At the same time, install an L-shaped metal bracket at the top edge of the panel (or a hidden location where the design allows). Secure one side of the bracket to the wall stud (using a stud finder), and the other side to the panel with glue or small screws. This provides double protection for a foolproof finish.
Perfect Jointing and Temporary Fixing:
Carefully align the panel edges along the laser lines, applying light pressure to ensure initial contact. Positioning with masking tape: Use masking tape (paper tape) to carefully secure adjacent panels together at the seams and panel edges.
Controlled Rod Fastener: To avoid chronic sagging of the top bonded panels, support them with appropriate length wooden sticks or specialized support rods which press the panels against the wall from the floor or the opposite wall.
Patience with the bond curing is crucial: Follow the adhesive curing times provided in the instructions (typically 24-72 hours) and avoid applying touch, pressure, or remove support elements during this period. Insufficient curing is a leading cause of lamination and peeling.
Emergency Remediation Tips
Localized debonding and warping:
- Use a medical syringe to draw a small amount of the same adhesive (or a compatible quick-drying superglue such as Loctite 401) and carefully inject it deep into the debonding gap.
- Immediately secure the warped edge with masking tape and place a heavy object (book, sandbag) over the debonding area, maintaining pressure for at least 24 hours.
Stubborn adhesive residue:
- Professional adhesive removal: It is better to use a dedicated solvent. Follow the instructions to test the surface for damages in a small, inconspicuous area. After application, the adhesive should be allowed to dry to softening and then removed with a plastic scraper.
- Soften with a heat gun: Adhesives that are thicker will require a more direct heat application using a heat gun or hair dryer set to high and 60-80 degrees celsius. Remove the adhesive carefully with a plastic scraper. Be careful to avoid fire and burns to the panel/wall!
Demolition disaster (wall peeling):
- “Fishing line cutting method”: Use a strong guitar string or special adhesive stripping line to cut back and forth between the panel and the wall like a saw, separating the adhesive from the base material and protecting the wall to the maximum extent possible.
- Wall repair: For damaged areas, remove loose parts and carefully fill the damaged area with wall filler (for small pits) or plaster/putty (for large holes). Sand and let dry, then repaint.
Ultimate Quick Q&A: Alleviate Your Last Concerns
“What should I do if I’m afraid to stick anything in my rental apartment?”
Recommended Solution: Use ultra-strong removable Velcro (3M™ Dual Lock™ SJ3550 or higher) or specialized “traceless” hook film (such as Command™ Heavy-Duty Series). Be sure to follow the installation and removal instructions strictly (usually by pulling vertically). Although more expensive, these offer secure adhesion and relatively traceless removal, making them a top choice for rental properties. Avoid using them on old or heavily chalked walls.
“How can I save money and still achieve results on a limited budget?”
- Detailing: Do not cover with tiles the entire wall. Pick the TV wall, the bedside wall, or an entry wall and use this to create a design centerpiece. This will minimize expenses while still providing a visually interesting focal point.
- Material Alternatives: Consider replacing traditional materials with less expensive, lightweight 3D wall stickers made of PVC, or EPS foam boards, which come in various shapes. EPS foam boards are, however, less durable.
- DIY leveling and cleaning: Complete thorough wall cleaning and small-scale leveling yourself to save labor costs.

Summary
Installing 3D wall panels is never as simple as just sticking them on and calling it a day. It requires management of construction materials and space at all levels. Neglecting any one of these aspects may result in multiple costs including time, money and mood. Rather than making amends afterwards, it is better to use the right methods, select the right materials and pay attention to the details from the very beginning.
(Construction Flowchart: Cleaning → Leveling → Moisture-Proofing → Glue Selection → Positioning → Gluing/Reinforcement → Installation → Temporary Fixing → Curing → Inspection)